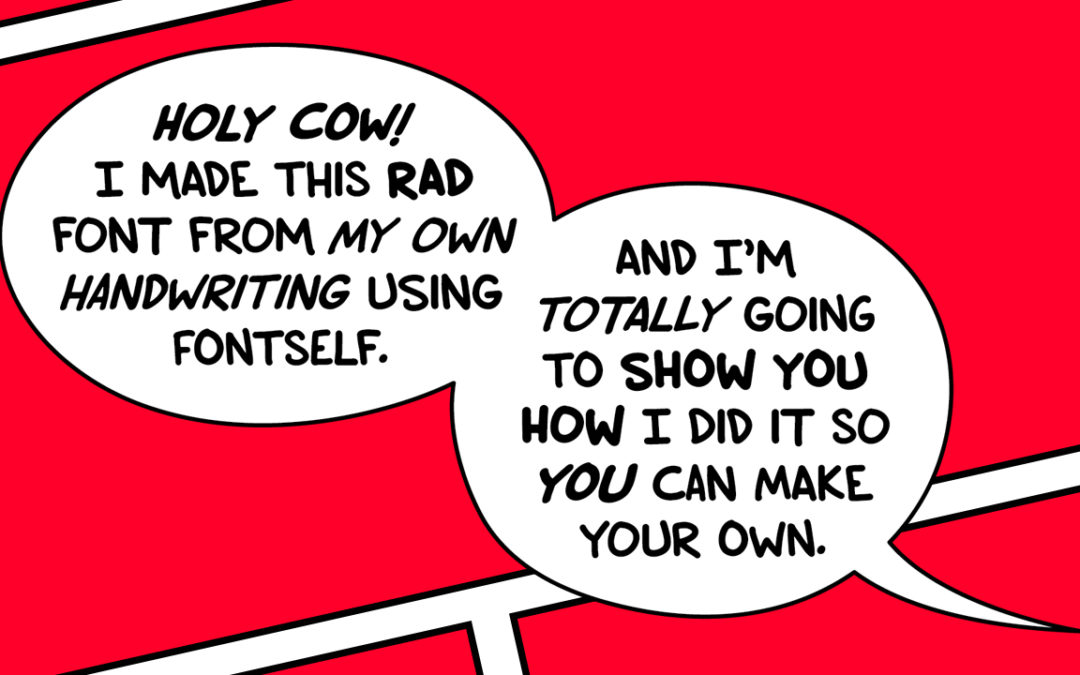
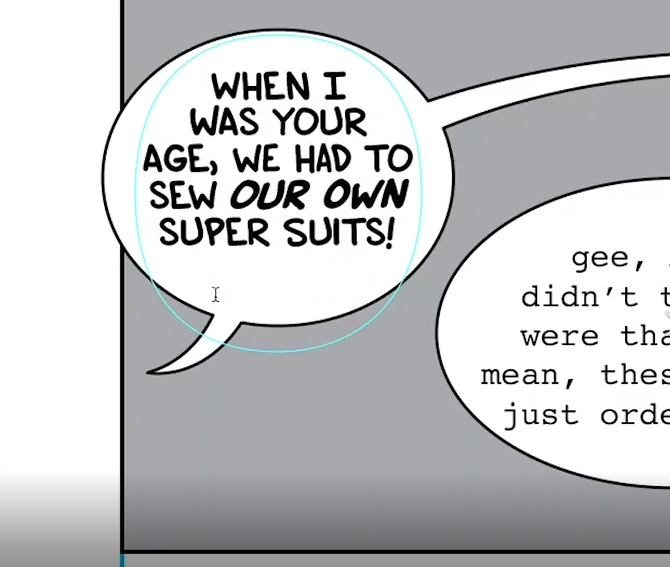
I made a font from my handwriting for lettering my comics & I’m going to show you the steps so you can too.
People learn differently so I’ve posted the video as well as the written step by step.
You’ll need:
- Adobe Illustrator
- Fontself
- A way to get your handwriting on your computer (Write out on paper, scan or photograph it) OR a tablet & a drawing program like Photoshop or Clip Studio
Fontself is $39 & 100% worth it for the Smart Spacing/Kern feature.
If you want to make a font for free without software you can try out Calligraphr. I personally wasn’t able to get the kerning to a place I was happy with though.
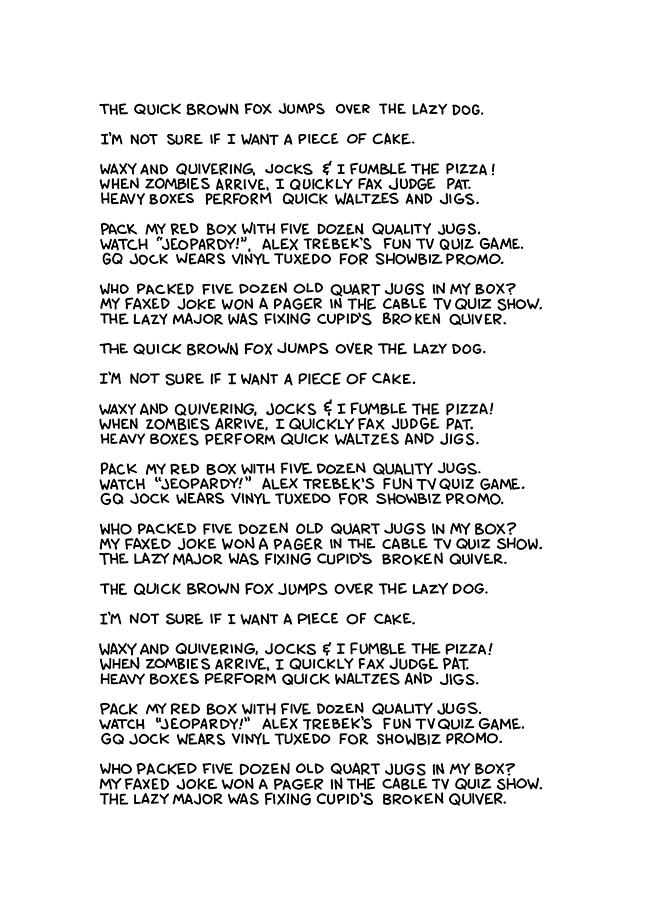
Write out all the characters on your keyboard. You can go through it just write out the alphabet but you’ll get a more natural look if you actually write out a bunch of stuff.
I used pangrams like The quick brown fox jumps over the lazy dog.
Now do the numbers, punctuation, & rest of the characters.
Do the same thing with a thicker brush size for BOLD lettering.
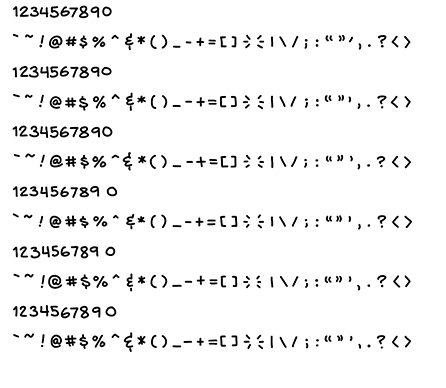
Go through, pick out your favorites and assemble 3 sets of letters & 2 sets of the rest of the characters.
Do this for Regular & Bold.
Make sure you have a stroke i and a crossbar i for personal pronouns such as the i in “I’m going to make a rad font.”
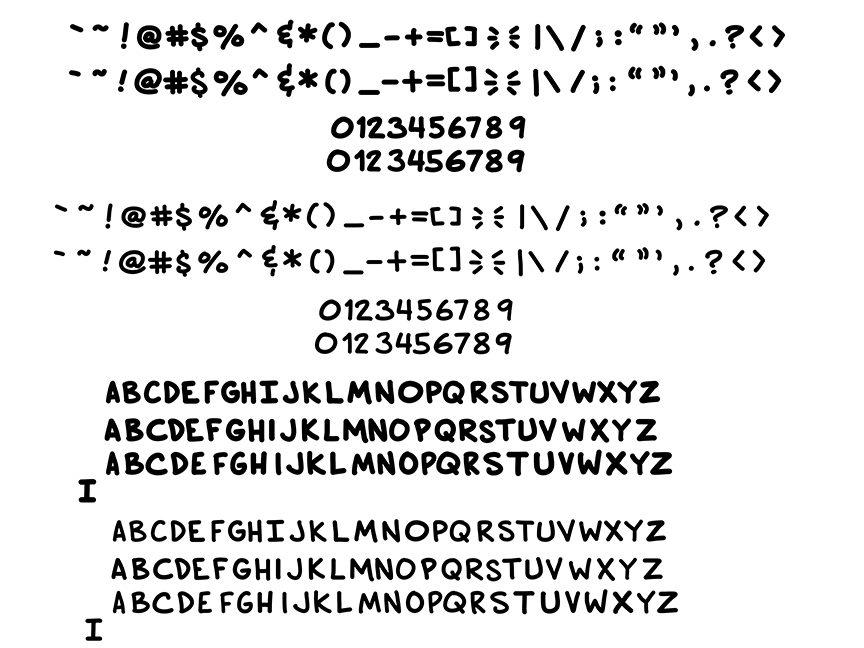
These sets need to be large & high DPI because we’re going to convert them to vectors in Illustrator. If the resolution isn’t good enough, Illustrator will do a poor job with converting.
I set document size to 12×9 inches 1200 DPI. I put the Regular letters on 1 document. Regular characters on another and did the same for Bold.
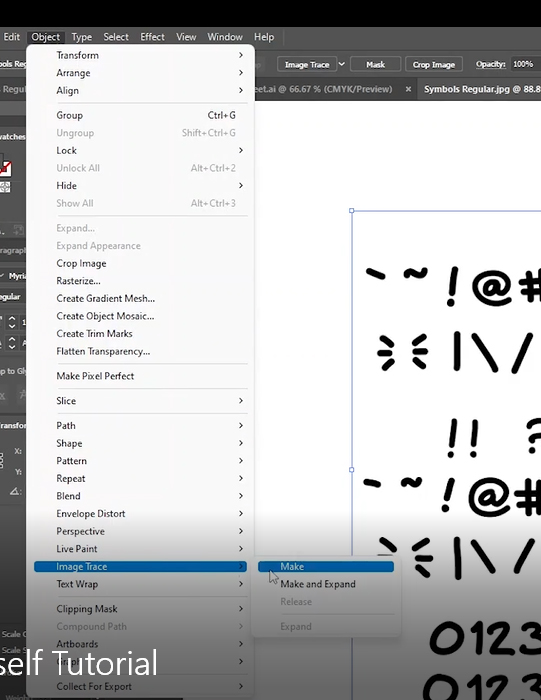
Select the image.
Object> Image Trace> Make & Expand
With the Magic Wand, click on any black area of a letter.
CTRL+X to cut them out
CTRL+N create a new document
CTRL+V to paste the glyphs
Open the Fontself plugin.
Window> Extenstions> Fontself
Your letters need to be in a single row. Same with your numbers starting with 0.
Starting with regular, highlight the first row of letters. Drag it to Fontself and let it go on the Uppercase area.
Hit the Smart button & watch the magic happen as it spaces and kerns everything.
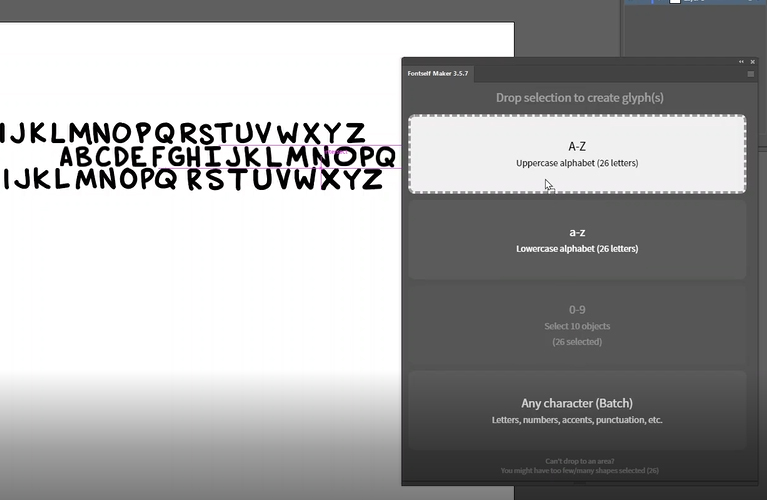
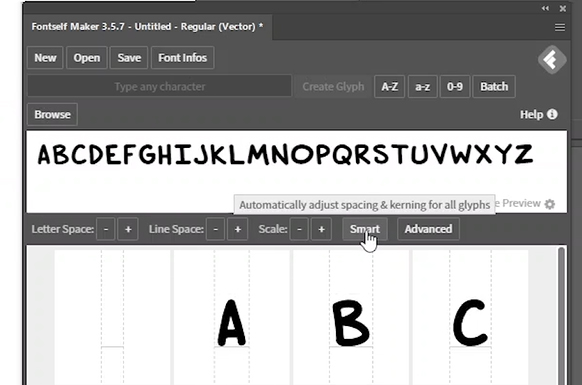
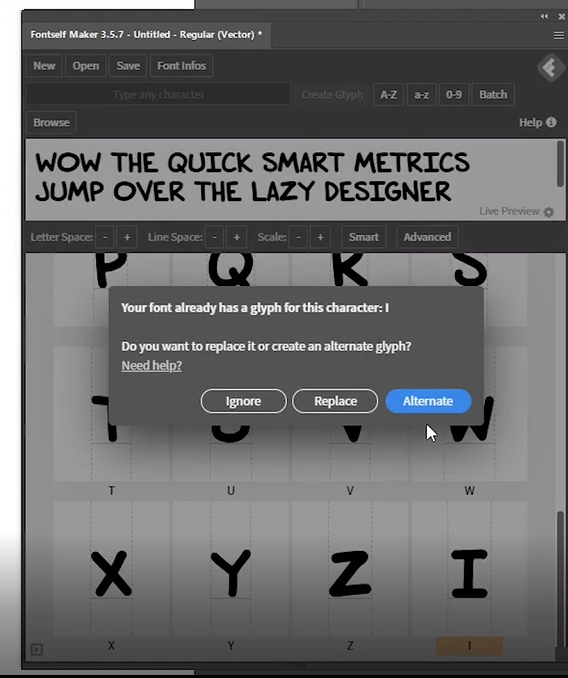
Take that single cross bar i and drag it over to Any Character. It will not be identified so you will need to click on it and rename it as an uppercase i.
Then click the Alternate button to set it as an alternate. Click Smart to kern it.
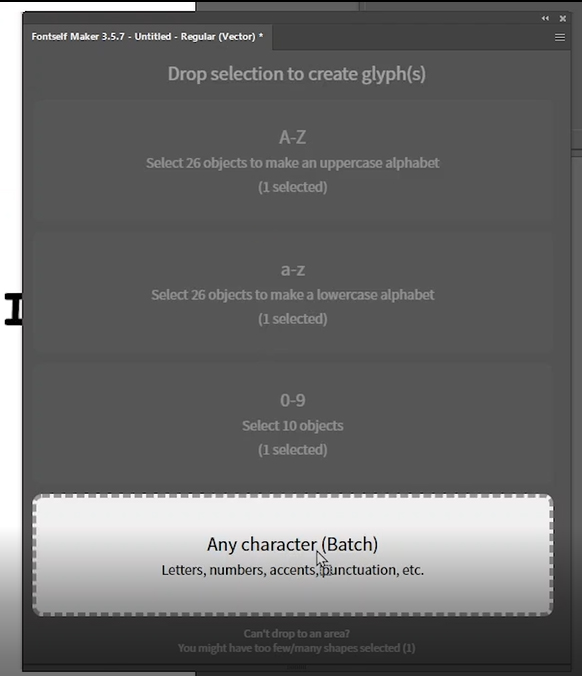
Select your next row of letters. Drag it to Lowercase alphabet. Smart kern it.
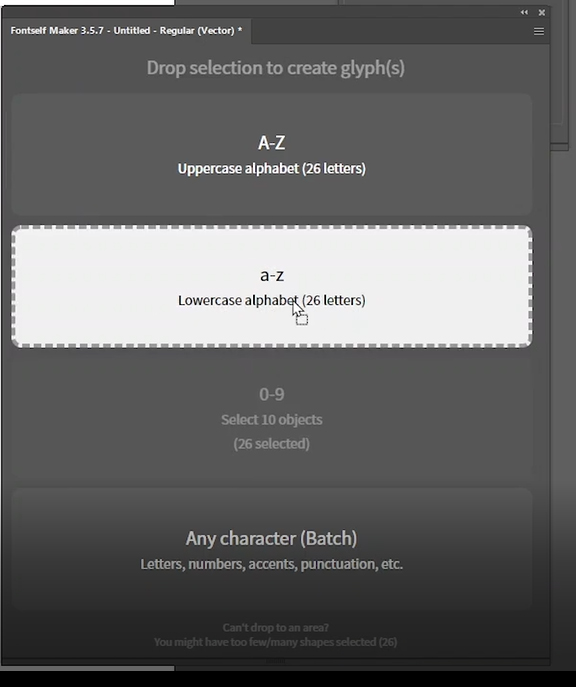
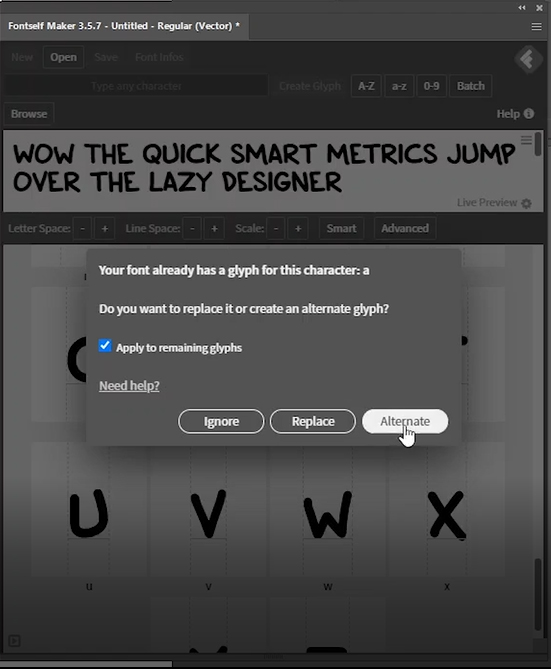
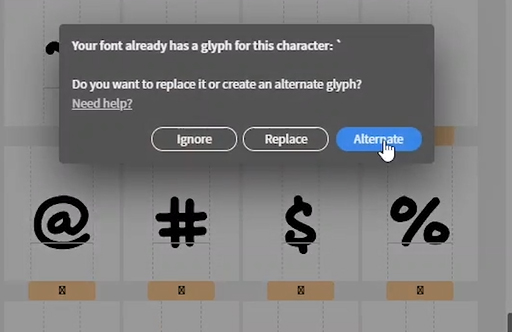
Grab the 3rd set of letters, drag it to the Lowercase alphabet. A window will pop asking to Replace or Alternate.
Check the Apply to remaining glyphs box & click Alternate.
Smart kern it.
Select the rest of your punctuations & characters. Drag them to the Any Character box. You will have to label these by hand.
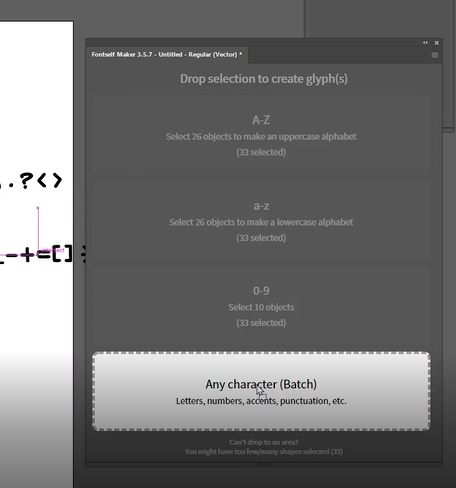
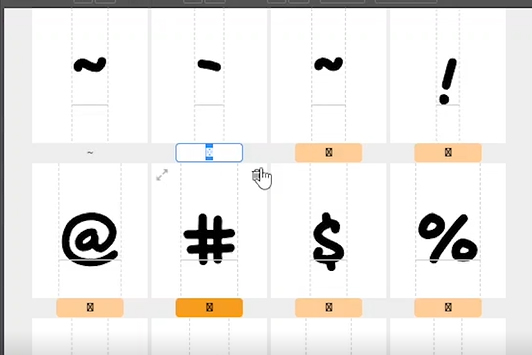
Do the same thing with the other set of characters. You will have to label these by hand and select Alternate for each one.
Smart kern it.
Click on Font Infos & Name your font. Save it. You’ve just created your first font family!
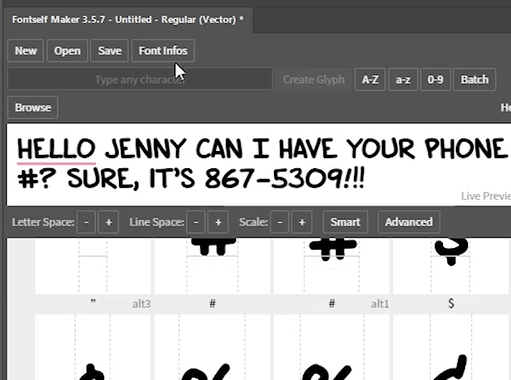
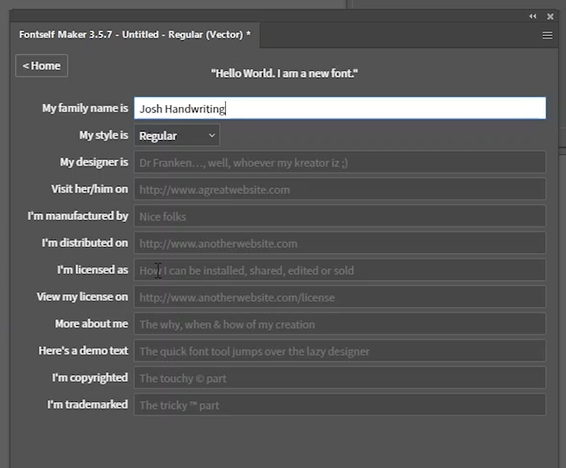
We’re now going to make an Italicized family. Select all the glyphs. Copy and paste a new set.
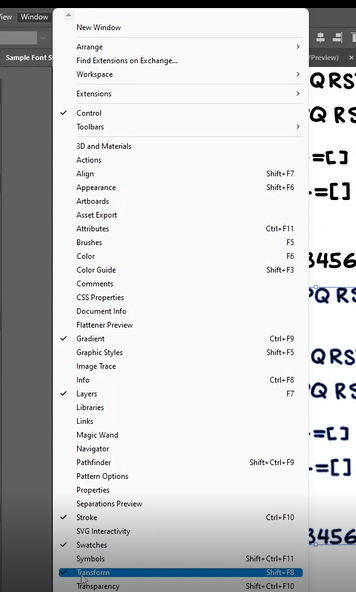
Open the Transform window. Window> Transform
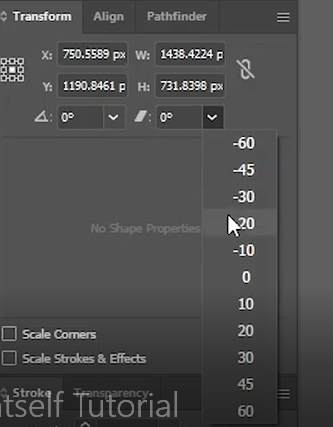
Set your Shear to 20 or whatever looks good to you.
In Fontself, click on New. Select New Style Select Italic from the drop-down & click OK
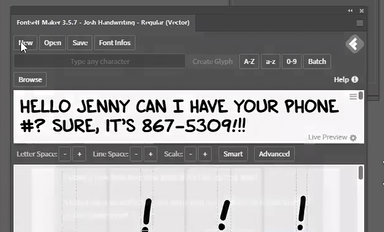
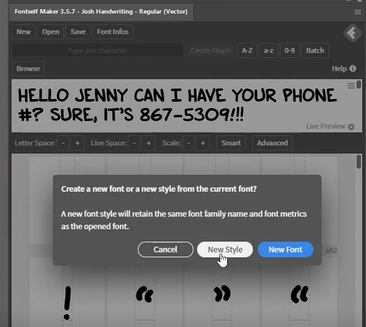
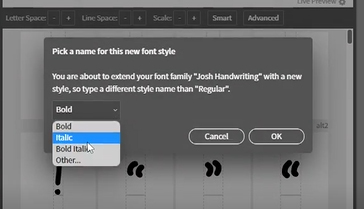
Repeat the process we did for the Regular font to create your Italic family.
Repeat this process again to create a Bold & Bold Italic family.
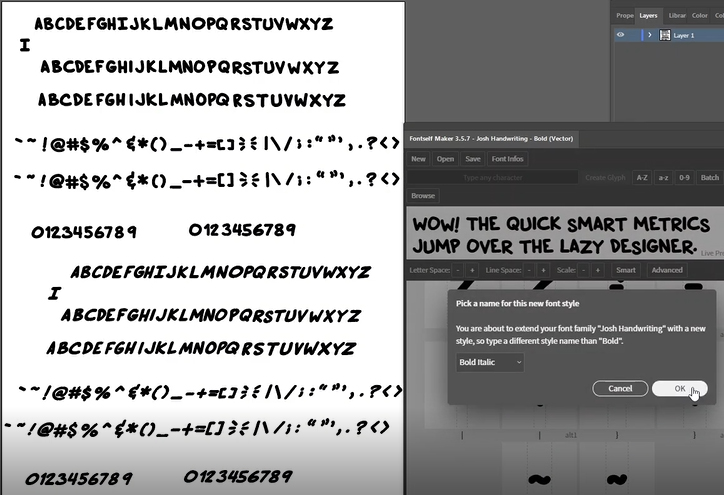
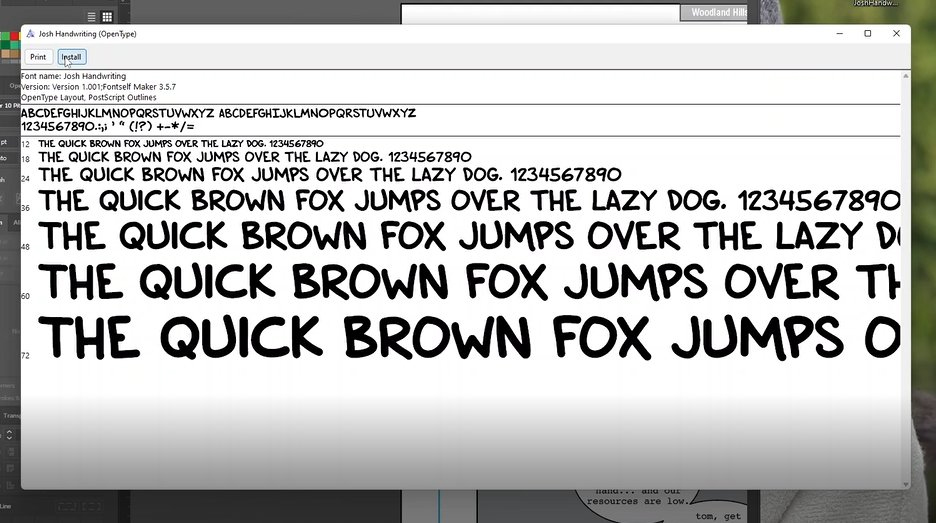
Open and install each of the fonts.
You’ve now got your very own professional font based on your handwriting.
Go make some awesome comics!
Did you enjoy reading? Subscribe to my newsletter and get articles like this directly in you inbox the first Wednesday of the month.
